AWS EC2 Linux instances can be accessed directly via SSH if you have the associated SSH key pair. Users can choose an existing SSH key or generate a new one while launching an EC2 instance. However, maintaining the SSH keys and sharing them across teams or accessing instances if you lose the keys can be troublesome.
In this article, we will learn an alternative method to access your server, using AWS EC2 Instance Connect. We will use the IAM role assumption concept to achieve this.
Prerequisites
This article assumes that you have an existing EC2 Linux instance, AWS CLI, and access to make IAM roles in AWS.
Creating IAM role
Let's get started by creating an IAM role and providing the necessary permissions to access the EC2 instance.
First, go to IAM, click Create role, and choose AWS account as the trusted entity if you want to log in from your local CLI.

Next, choose the EC2InstanceConnect policy or create a policy to limit access to only the instance you want to connect using the following statements:
{
    "Version": "2012-10-17",
    "Statement": [
        {
            "Effect": "Allow",
            "Action": "ec2-instance-connect:SendSSHPublicKey",
            "Resource": [
                "arn:aws:ec2:{region}:{accountNumber}:instance/{instanceID}"
            ]
        },
        {
            "Effect": "Allow",
            "Action": "ec2:DescribeInstances",
            "Resource": "*"
        }
    ]
}
Replace {region}, {accountNumber}, and {instanceId} with appropriate values from your AWS account.
Enter the role name and complete the creation of the IAM role. Copy the role ARN so that we can use it to access the instance from your local CLI.
Accessing EC2 with IAM Role and EC2 Instance Connect
Great, now that you've successfully set up the IAM role, follow the steps to connect to your EC2 instance.
Assuming the new IAM role
First, make sure you completely configure AWS CLI on your target machine and validate your access to the AWS account that you specified while creating the IAM role.
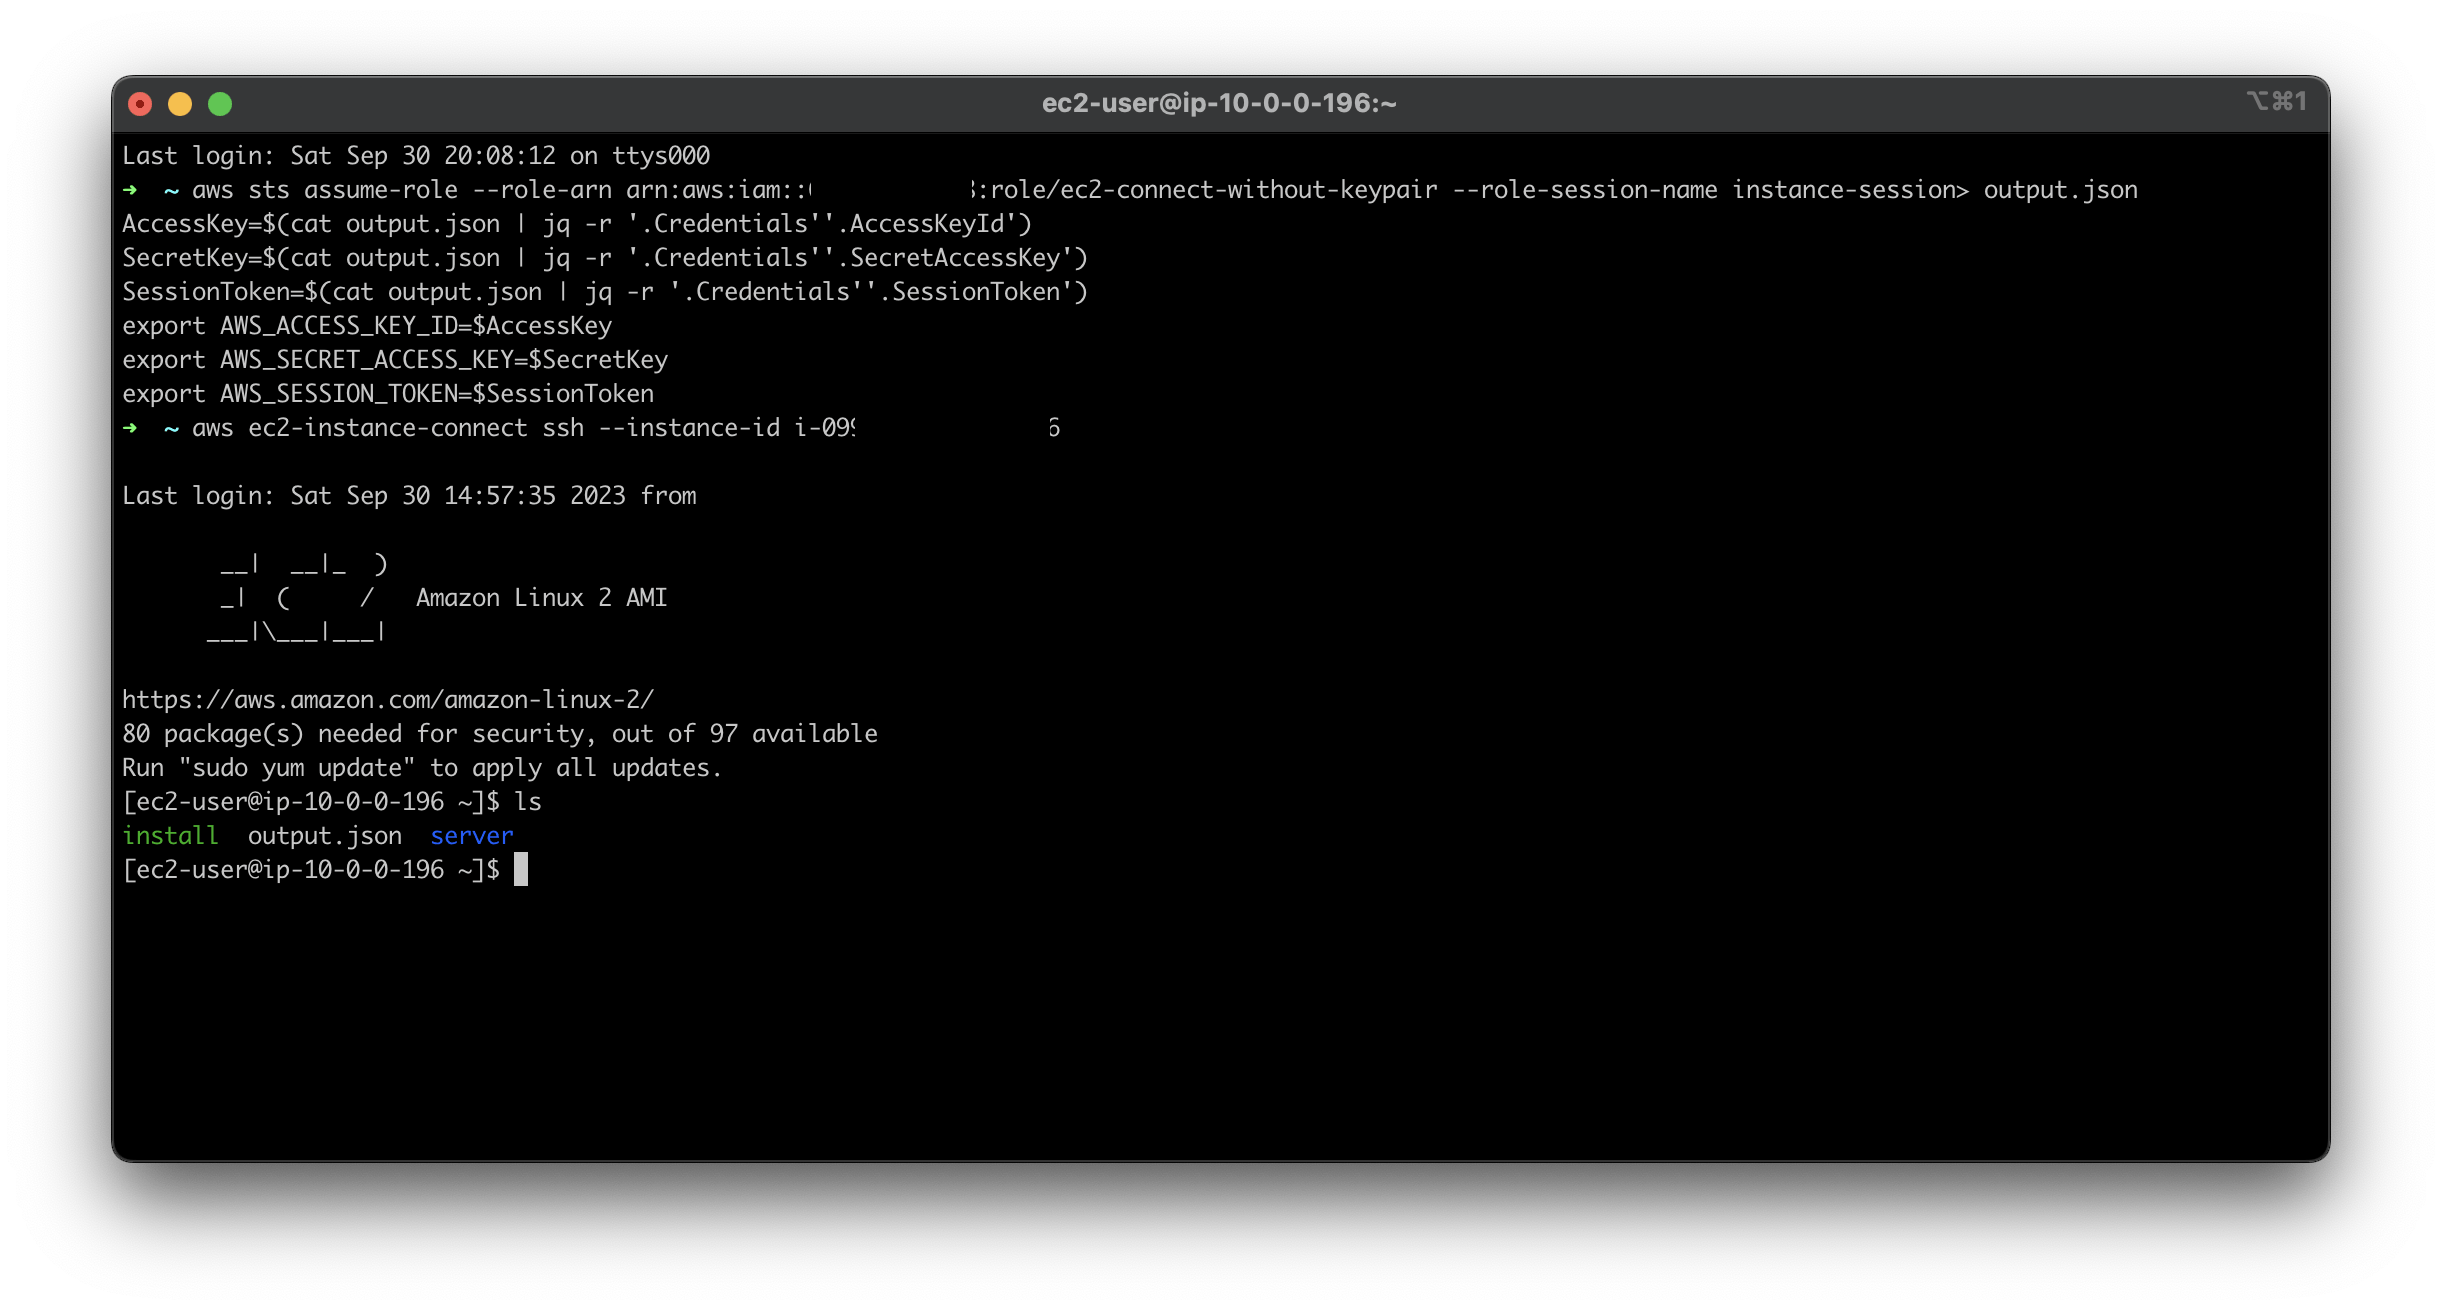
Then, to assume the new IAM role and set the credentials for your new session, simply run the following script after replacing the ROLE_ARN with the one you created above.
aws sts assume-role --role-arn {ROLE_ARN} --role-session-name instance-session> output.json
AccessKey=$(cat output.json | jq -r '.Credentials''.AccessKeyId')
SecretKey=$(cat output.json | jq -r '.Credentials''.SecretAccessKey')
SessionToken=$(cat output.json | jq -r '.Credentials''.SessionToken')
export AWS_ACCESS_KEY_ID=$AccessKey
export AWS_SECRET_ACCESS_KEY=$SecretKey
export AWS_SESSION_TOKEN=$SessionToken
Using the EC2 Instance Connect command
Awesome, now that you've successfully assumed the IAM role, run the following command after replacing instanceId with the ID of the EC2 instance that you want to access.
aws ec2-instance-connect ssh --instance-id {instanceId}
That's it! You will be able to access your EC2 instance now without directly using the SSH key.

Conclusion
This article guides you on setting up the IAM role and permissions to access EC2 instances without using the SSH key directly. We have used the IAM role assumption concept and EC2 Instance Connect command to achieve this.
Follow me for more Cloud and DevOps content.
See you in cloud!
Vishnu S.

